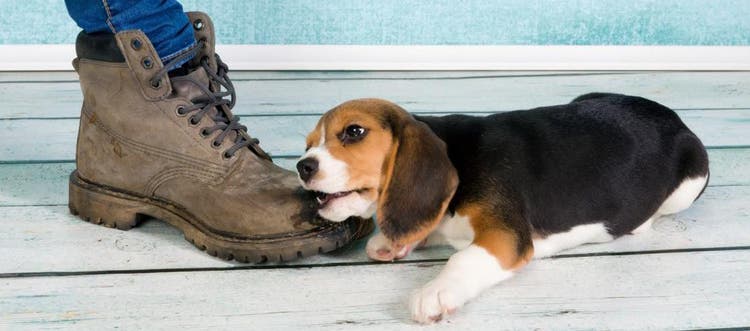
Dogs’ nails need regular care, just like ours. Unless your dog spends a lot of time outside on hard or rough terrain (which naturally keeps a dog’s nails trim), it’s likely that you’ll have to commit to cutting your dog’s nails regularly. Here we explore the whys and hows of cutting your dog’s nails at home, so you’ll learn how to nail it!
Why do I need to cut my dog’s nails?
Just like us, a dog’s nails grow throughout his life. Since most domesticated dogs spend more of their time inside, their nails don’t wear down as fast as they grow. If you don’t trim your dog’s nails, they may eventually snap and break and become painful.
When do I need to cut my dog’s nails?
Generally, a dog’s nails should be trimmed when they touch the ground. If you hear your dog click-clacking with every paw step, then it’s probably time to give them a trim! How quickly a dog’s nails reach this length will depend on their environment and lifestyle. The nails of a city dog who walks on pavement will likely stay shorter than a dog with a leisurely indoor lifestyle, or one who spends more time on softer ground.
It is a good idea to get your dog into the habit of having their nails trimmed from an early age. That way, they will be far more comfortable with the routine.
Clip, cut or file?
There are a range of gadgets available to trim your dog’s nails, but they largely fall into three groups:
Clippers: The most commonly used tool for dog nail trimming, these are powerful scissor-style nail clippers. They come in a wide range of styles, so you can find the one that works best for you and your dog.
Guillotine cutters: As the name suggests, these feature a single blade which slices off the end of the dog’s nail. They are easier to handle than clippers, but not as ‘heavy duty’ – generally they are better for smaller dogs, with thinner nails.
Files: There are various files and dog nail grinders available, usually with a small rotating wheel that grinds or files down your dog’s nail tips.
What other equipment do I need?
There are a couple of other things that you should have on hand when getting ready for trimming your dog's nails.
Styptic powder: Have this on standby to apply to your dog’s nails if they start bleeding (which means you’ve cut the ‘quick’ – more on that in a moment).
Treats: Have a few on hand to help your dog through the process, particularly if you do accidentally hurt them.
Generally speaking, nail trimming is probably not going to be your dog’s favourite activity, so be prepared with lots of treats and reassurance to reward them for their cooperation.
How do I trim my dog’s nails?
Once you’ve got all your equipment in place, it’s time to trim your dog’s nails. To start out, choose a good time to do it – when they are relaxed, perhaps after a meal or after exercise – and follow these simple steps.
1. Hold one of their front paws in your hand
Start with the front paws. Hold their paw firmly but gently and identify where you want to make the cut.
2. Cut the nail – avoiding the ‘quick’
Trim off the end of the nail. Always cut from top to bottom and try to cut perpendicular to the nail, avoiding cutting at an angle.
Within each dog nail is the ‘quick’, which contains nerves and blood vessels. You should avoid cutting this as it will bleed and cause your dog some discomfort. If your dog has white nails, you should be able to see the quick as a faint pink line. Cut no closer than 2mm from the quick.
If your dog has black nails, unfortunately the quick won’t be visible. However, as you cut your dog’s nails, look out for a dark spot in the center of the newly clipped edge – this is where the quick starts.
It is always better to cut off too little if you are unsure. You can always cut off a bit more later if needed. If your dog has black claws or you are unsure about doing it, take your dog to a professional groomer or veterinarian to have it done for you.
What if I accidentally cut the quick?
Don’t panic! Accidents happen. Apply styptic powder to the affected nail until it stops bleeding and give your dog a treat and lots of reassurance. If you are worried and don’t want to resume nail trimming, take your dog to a professional groomer or veterinarian to have it done for you.
3. Lie your dog on their side to do the back paws
If you lie your dog on their side, it will make it easier for you to access and hold their back paws.
4. Some dogs have dewclaws. Don’t overlook them because they grow too!
Some dogs have dewclaws which are digits that grow higher on the leg – almost like our thumb or big toe. Designed to provide higher traction when a dog is running at high speeds, dewclaws can be tightly attached to a dog’s leg by bone (which makes them more useful) or loosely attached by skin (which makes them more vulnerable to injury). Some breeders choose to remove dewclaws.
Dewclaws have nails, and those nails should be trimmed at the same time as the rest of your dog’s nails. Dewclaw nails that are not trimmed can eventually circle back into your dog’s leg, piercing the skin and causing a wound that may lead to an infection.
5. Once you are finished cutting your dog’s nails, give them treats and cuddles!
You will have to cut your dog’s nails on a regular basis, so make it as positive a situation as you can for your dog. When you are finished, give them lots of treats and reassurance.
I don’t want to do it / I don’t like doing it!
Don’t worry! There are plenty of professional grooming services and veterinarians who can trim your dog’s nails for a small fee.
Worried about your dog’s nails?
If you have any concerns, for example, if you think your dog’s nails are causing him pain or discomfort, get in touch with your veterinarian.

